Planning a restaurant menu shoot: a checklist for cafés and kitchens
Most of what makes menu photographs work is decided before the camera comes out. Here is what to sort out in the week before your shoot.
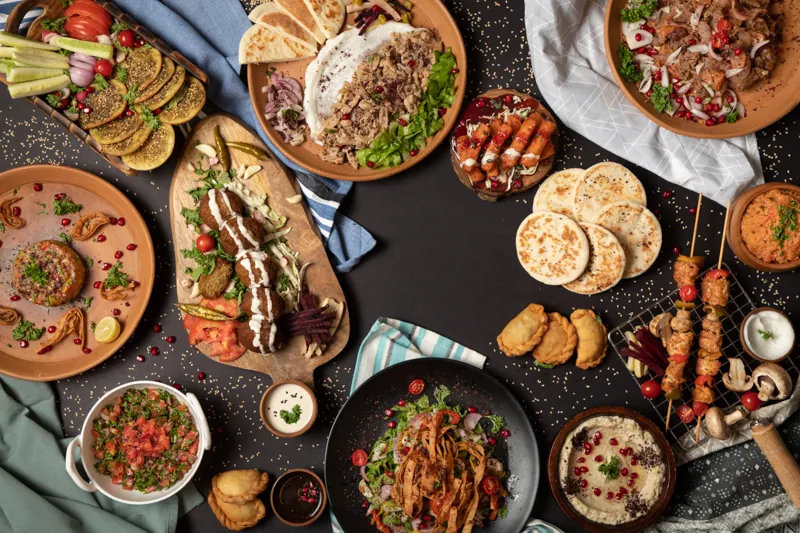
A menu shoot is mostly decided before the camera comes out. The dishes, the plates, the timing in the kitchen and where the photos will be used all shape the photographs you take home. Sort these out in the week before, and the shoot itself becomes the easy part.
This is the checklist we walk restaurants, cafés and cloud kitchens through when they book a menu shoot with us in Pune.
Decide where the photographs will be used
Start here, because it changes how every dish is framed. A photo on a delivery app sits in a small tile next to dozens of others. A printed menu needs room for text. A website banner is wide, and Instagram is square or vertical.
Make a simple list of every place the images will go: your website, delivery listings, printed menus, standees, social media and any ads. Share it with your photographer before the shoot. We plan the shot list around it and deliver files sized for each use, so you are not cropping a wide photo into a square later and losing half the plate.
Build the dish list
Write down every dish you want photographed. Then sort it:
- Must-haves: your bestsellers and the dishes you most want people to order.
- Nice-to-haves: the rest of the menu, if time allows.
- Variants: if three curries look almost the same on a plate, photograph one properly and decide whether the others need their own image.
Group the list by type, such as starters, mains, breads, desserts and drinks. Dishes that look alike can share a lighting set-up, which makes the day faster and the photos more consistent.
Plan the kitchen for the camera
Food on a set needs to look its best for a few minutes, not survive a journey to a table. Talk to your head chef about a few small changes for the day:
- Keep one person in the kitchen dedicated to the shoot, so service and the camera are not competing for the same hands.
- Send dishes out one at a time, as the photographer is ready for them. A plate that waits under lights loses its shine.
- Keep garnishes, sauces and fresh herbs separate until the last moment, so they can be added on set.
- Cook vegetables and greens so they hold their colour; a little under is usually better than a little over.
If your dishes include anything that wilts, melts or sets quickly, flag it in advance so it can be shot first or prepared in stages.
Choose plates, props and surfaces
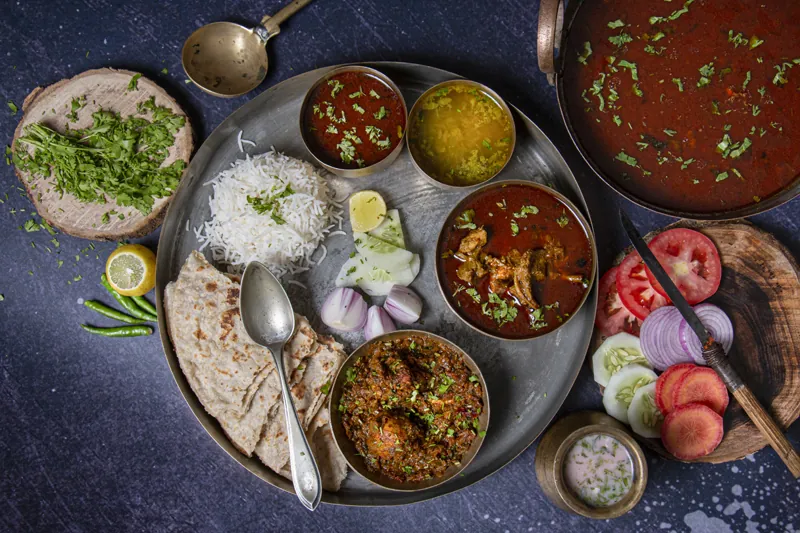
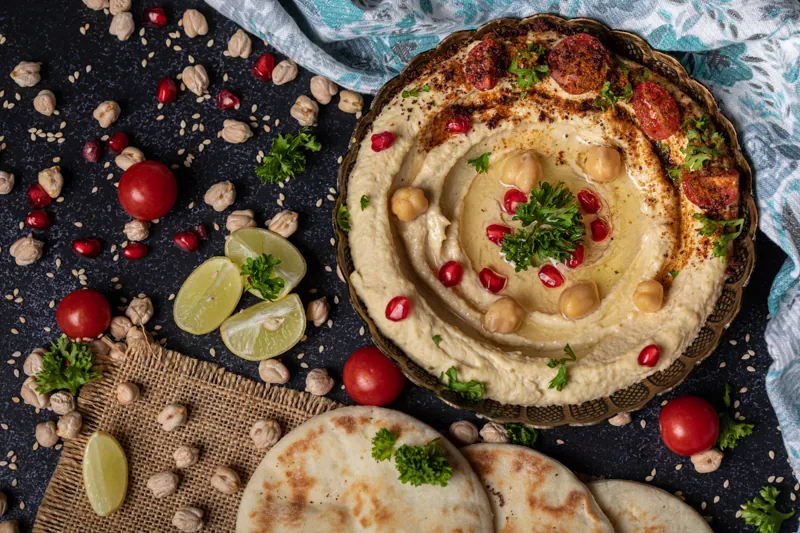
If your crockery is part of how people recognise you, use it. Otherwise, keep plates simple: plain colours let the food lead.
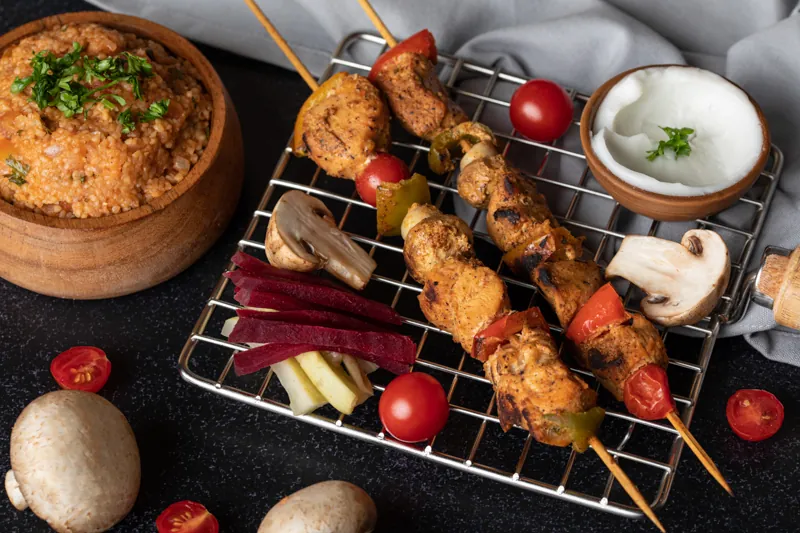
Have two or three spare plates in different colours or textures, in case a dish disappears against one. Check for chips and scratches, because the camera finds every one. Napkins, cutlery, a few raw ingredients and a glass or two can add context, but keep patterns and logos to a minimum unless they belong to your brand.
Food styling is included in our quote. If you already work with a food stylist, we are happy to work alongside them.
Shoot at the restaurant or in the studio
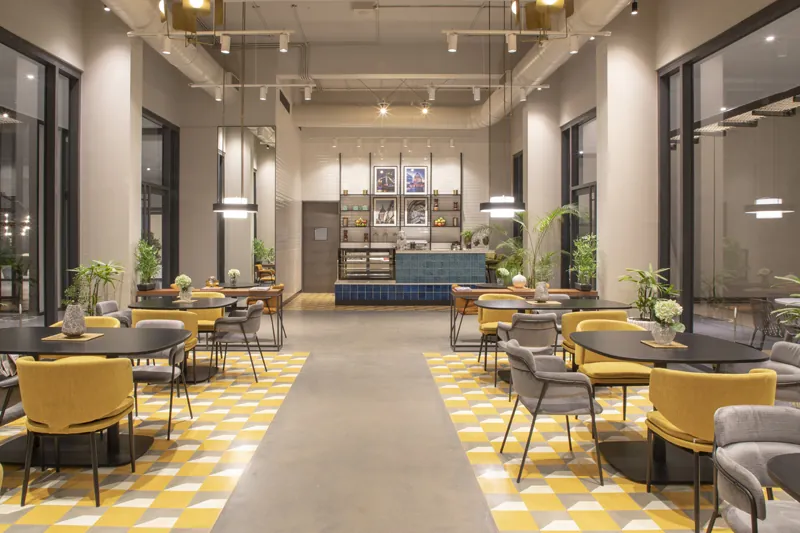
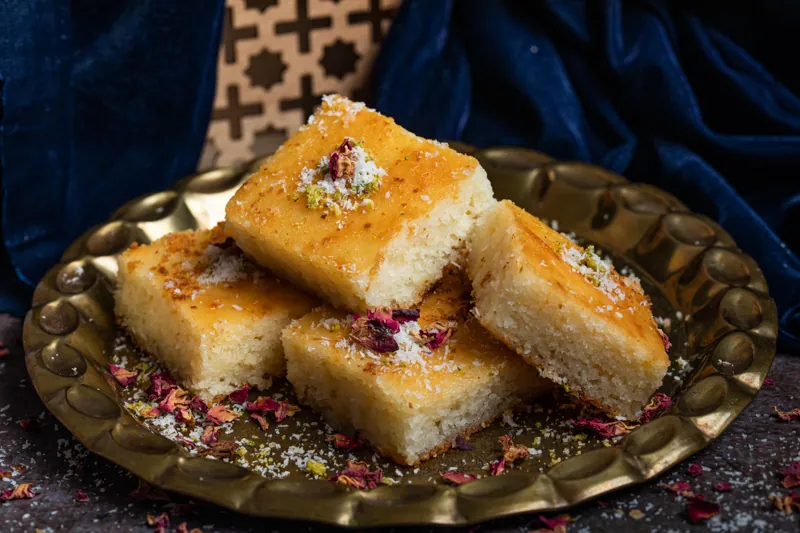
Both work, and it depends on the food. Shooting at your restaurant means dishes go straight from the pass to the set while they are at their best, and it is easy to add a few photographs of the space and the team. Shooting in our studio gives complete control over light and backgrounds, which suits packaged products, desserts and anything that travels well.
If you shoot on site, book a slot outside service hours. A menu shoot and a lunch rush in the same kitchen help neither.
Plan the time
A food session usually runs between two and eight hours, depending on the number of dishes. Plan the kitchen's day around that, including a break for the team. If the list is long, splitting it across two sessions often gives better results than one very long day.
On the day
- Dish list printed, in shooting order, with must-haves first.
- One chef and one helper assigned to the shoot.
- Garnishes, sauces and oils prepped and kept separate.
- Clean plates, spares and props ready before the first dish.
- A table or counter near a window, if shooting on site.
- Someone who can approve the look of the first few dishes, so the rest follow the same style.
After the shoot
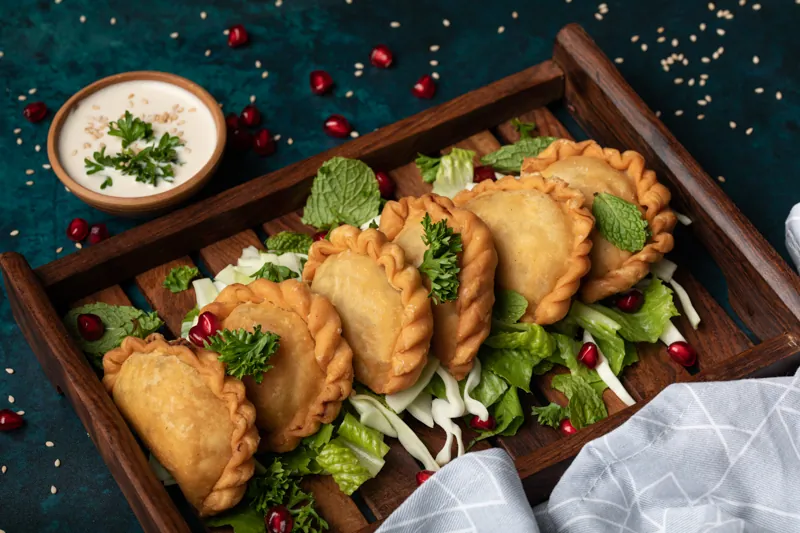
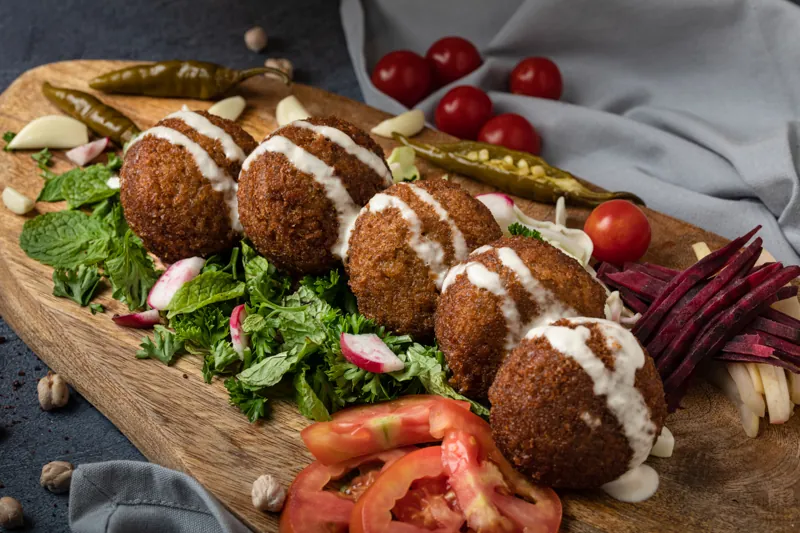
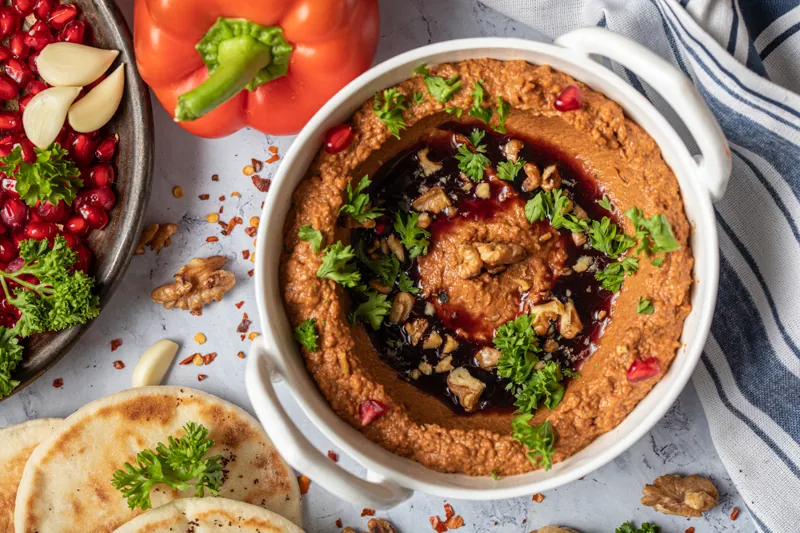
You will see a gallery of the day's frames to choose from. Every delivered photograph is edited and retouched, and the final files come through a secure online gallery, in high resolution for print and in web sizes for your website, social media and delivery listings.
Two small habits make the files more useful over time. Name them by dish, not by number, so anyone on your team can find "paneer tikka" in a year's time. And update your delivery listings as soon as the photographs arrive, while the new menu is still new.
If you would rather have fresh food content every month instead of a single shoot, a monthly retainer covers regular shoots for specials, new dishes and reels.
Planning your own menu shoot?
The Hero Shot is our food and product photography service, with menus, packshots and product video shot at your kitchen or in our studio. Send us your dish list and dates, and we will come back with a plan and an exact quote.